| Click on picture to see larger version, Use Back Button to return |
Comment |
||
|---|---|---|---|
 |
 |
 |
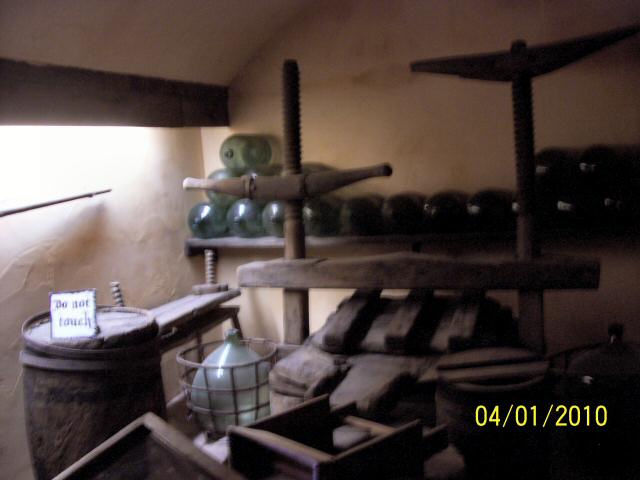 |
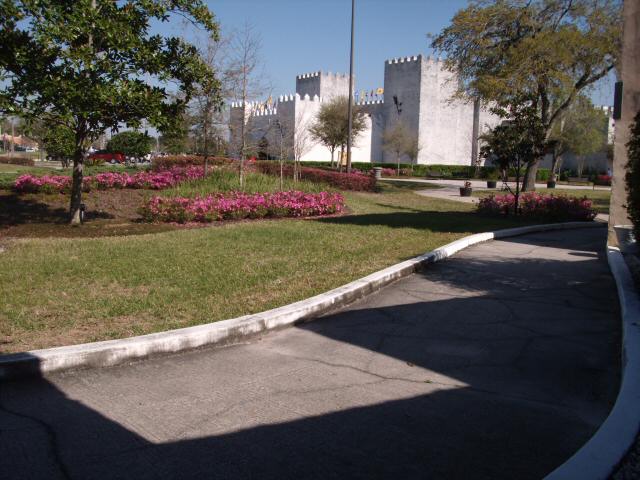
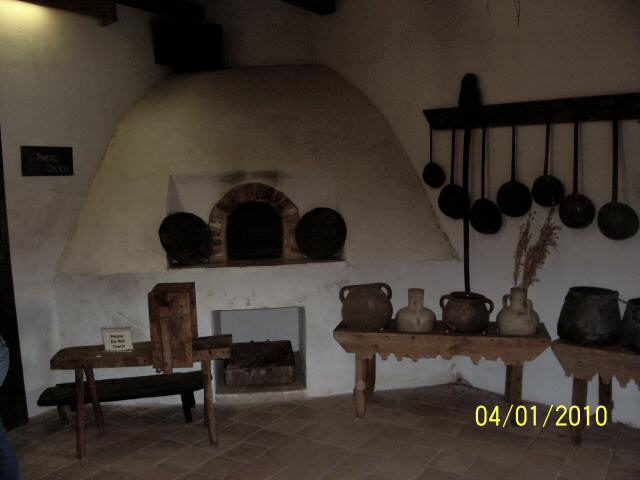
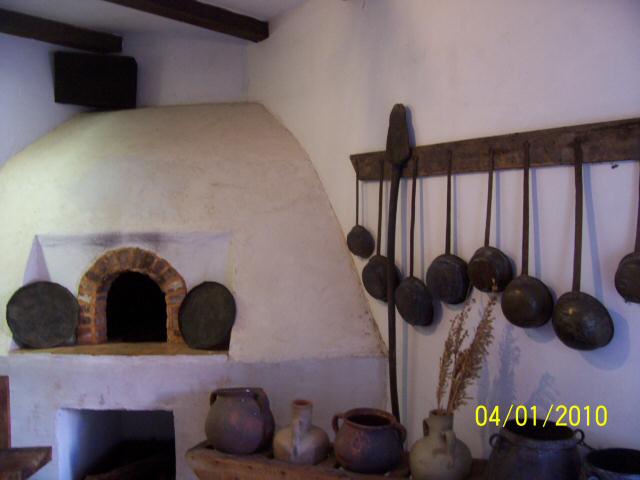
| The 1st. picture on the left: The village was a short walk away
from the castle. The village showed what 11th century common folks had to live
and work with. A long life was someone who lived beyond their 30's. The 2nd. and 3rd. picture, from the left: The kitchen from which villagers meals were prepared. The 4th. picture, from the left: The tools of the wine maker. |
|||
|
|
|||
 |
 |
 |
|
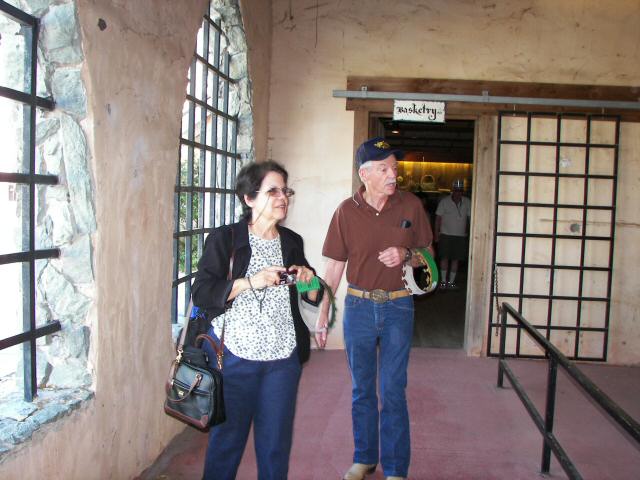
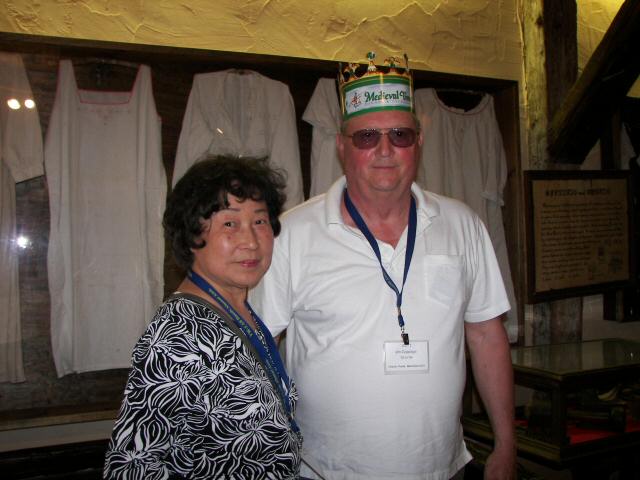
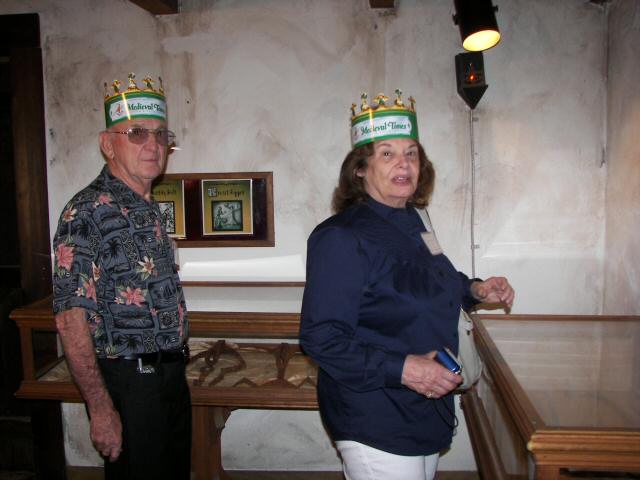
| The 1st. picture on the left: Lyle and Sylvia Fisher, walking
through the village displays. The 2nd. picture, from the left: James and Janice Coppage, pause for a picture. The 3rd. picture, from the left: Jack and Sydnie Gergal. |
|||
|
|
|||
 |
 |
 |
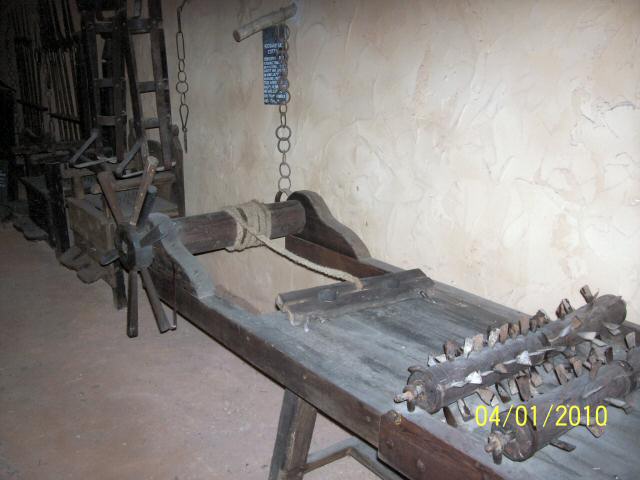 |
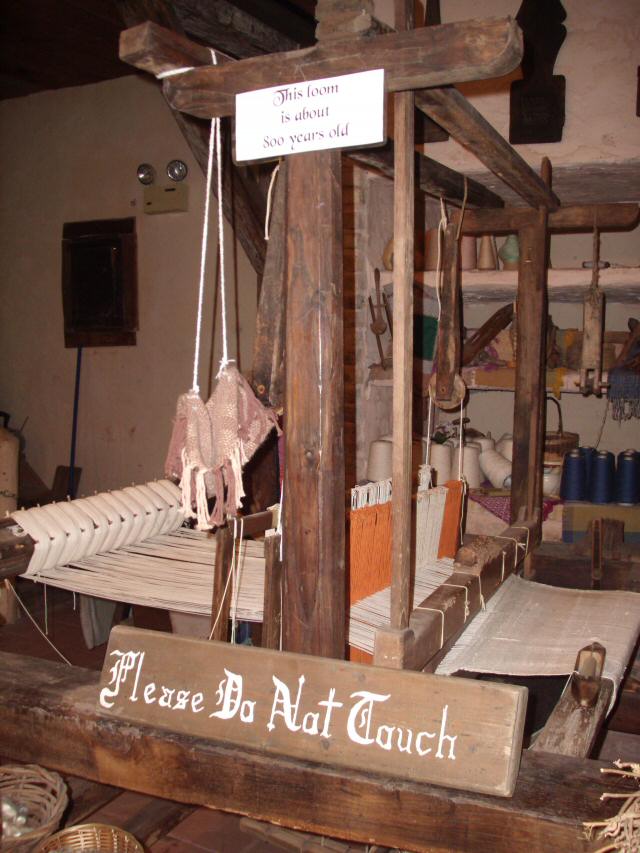
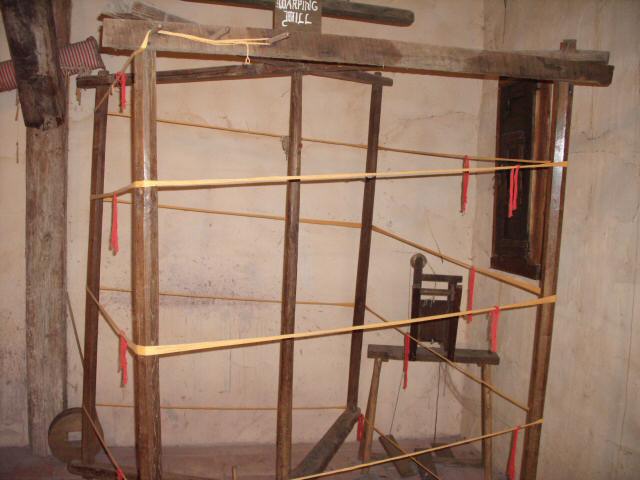
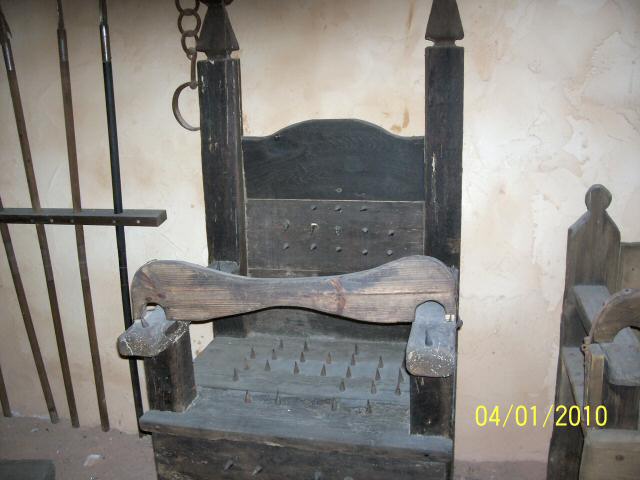
| The 1st. picture on the left: A 800 year old weaving
machine. The 2nd. picture, from the left: Wrapping machine, forgot what that was for. The 3rd. and 4th. pictures from the left: Just a couple of the many torture devices that were used to extract confessions. |
|||
|
|
|||
 |
 |
 |
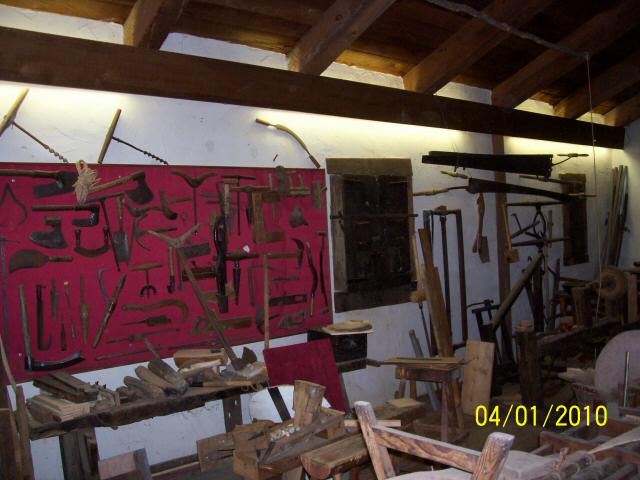 |
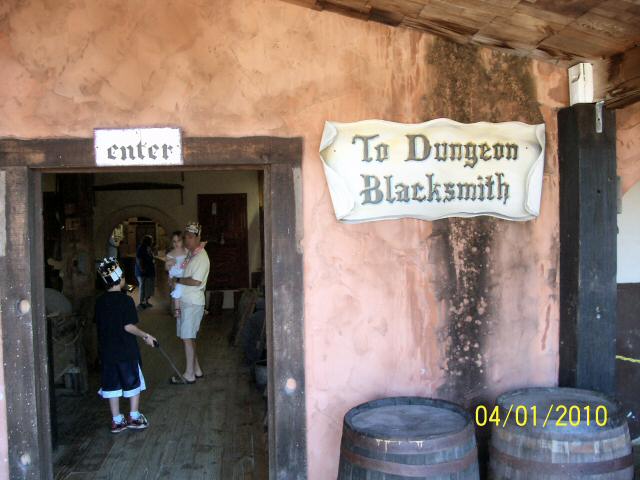
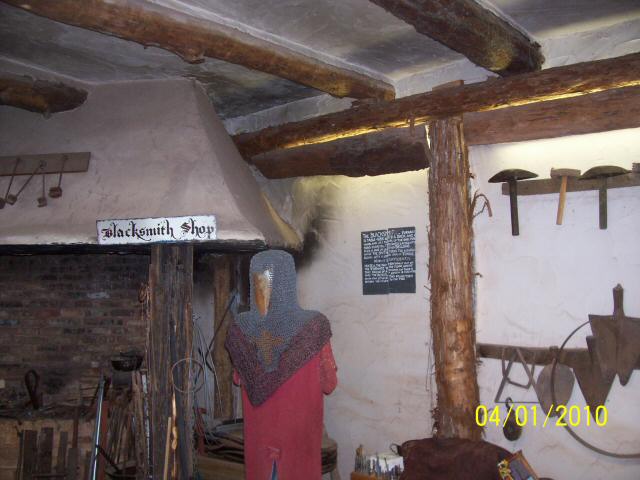
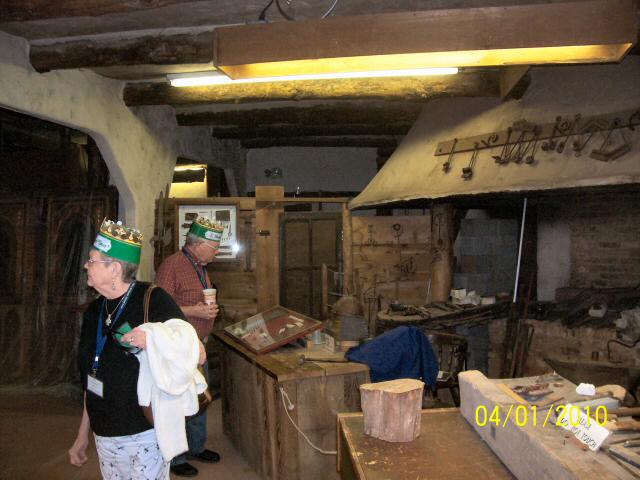
| The 1st. picture on the left: Entrance to some of the various
shops and the dungeon. The 2nd. and 3rd. pictures, from the left: The blacksmith shop where everything that contained metals was made from plow shares to swords. Frank and Jackie Doty look at the various tools. The 4th. picture, from the left: The carpenter shop. |
|||
|
|
|||
 |
 |
 |
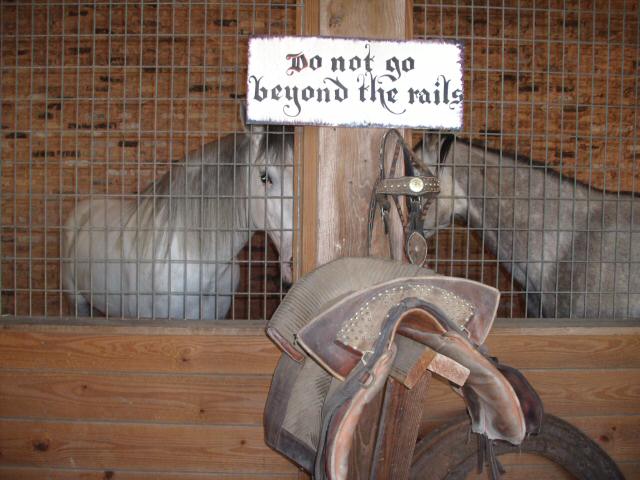 |
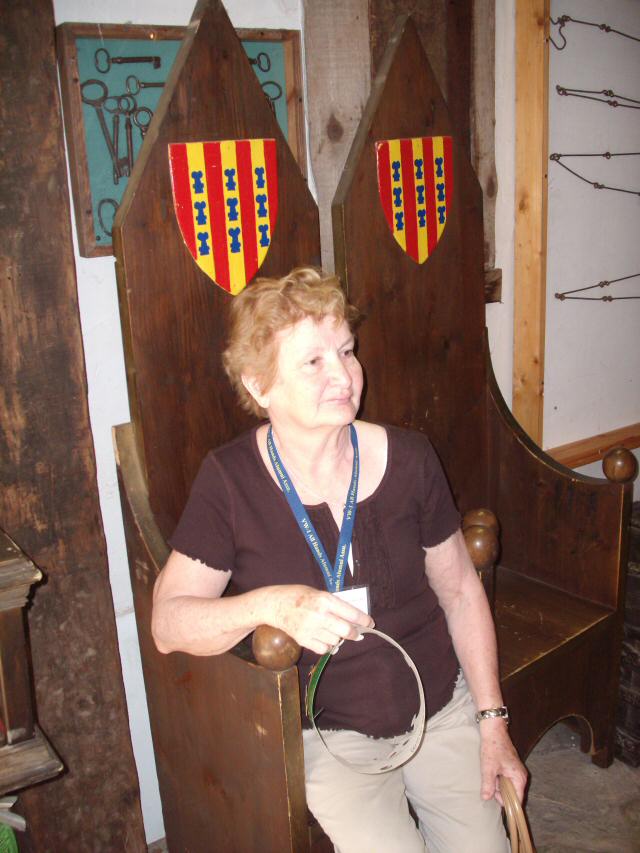
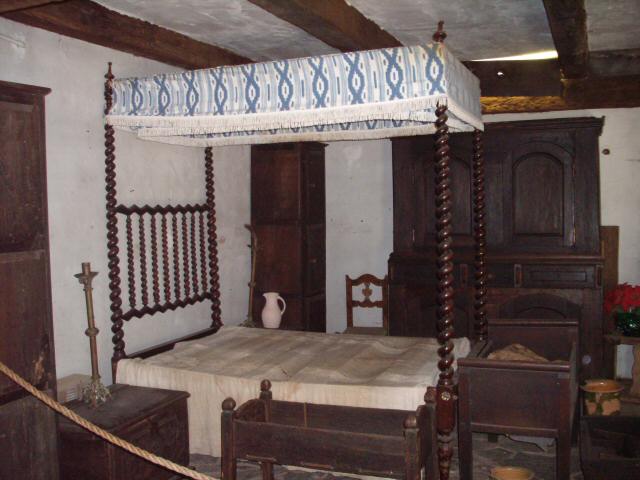
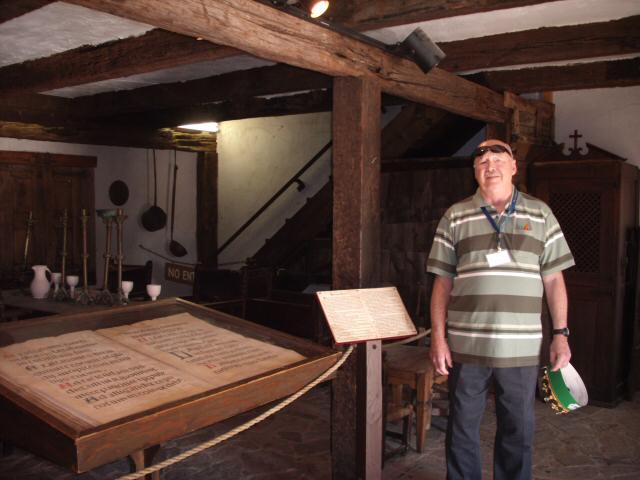
| The 1st. picture on the left: Mary Ann Cousineau takes a
breather in the display of the village leader (mayor?). The 2nd. picture, from the left: Typical bedroom furnishings of a wealthy villager. Notice the honey bucket at the foot of the bed. The 3rd. picture, from the left: Dave Cousineau pauses for a photo, he had been looking at the information sign that describes the house of the village leader. A portion of the kitchen area can be seen. The 4th. picture, from the left: The stables, these may have been some of the horses used in the show. |
|||
|
|
|||